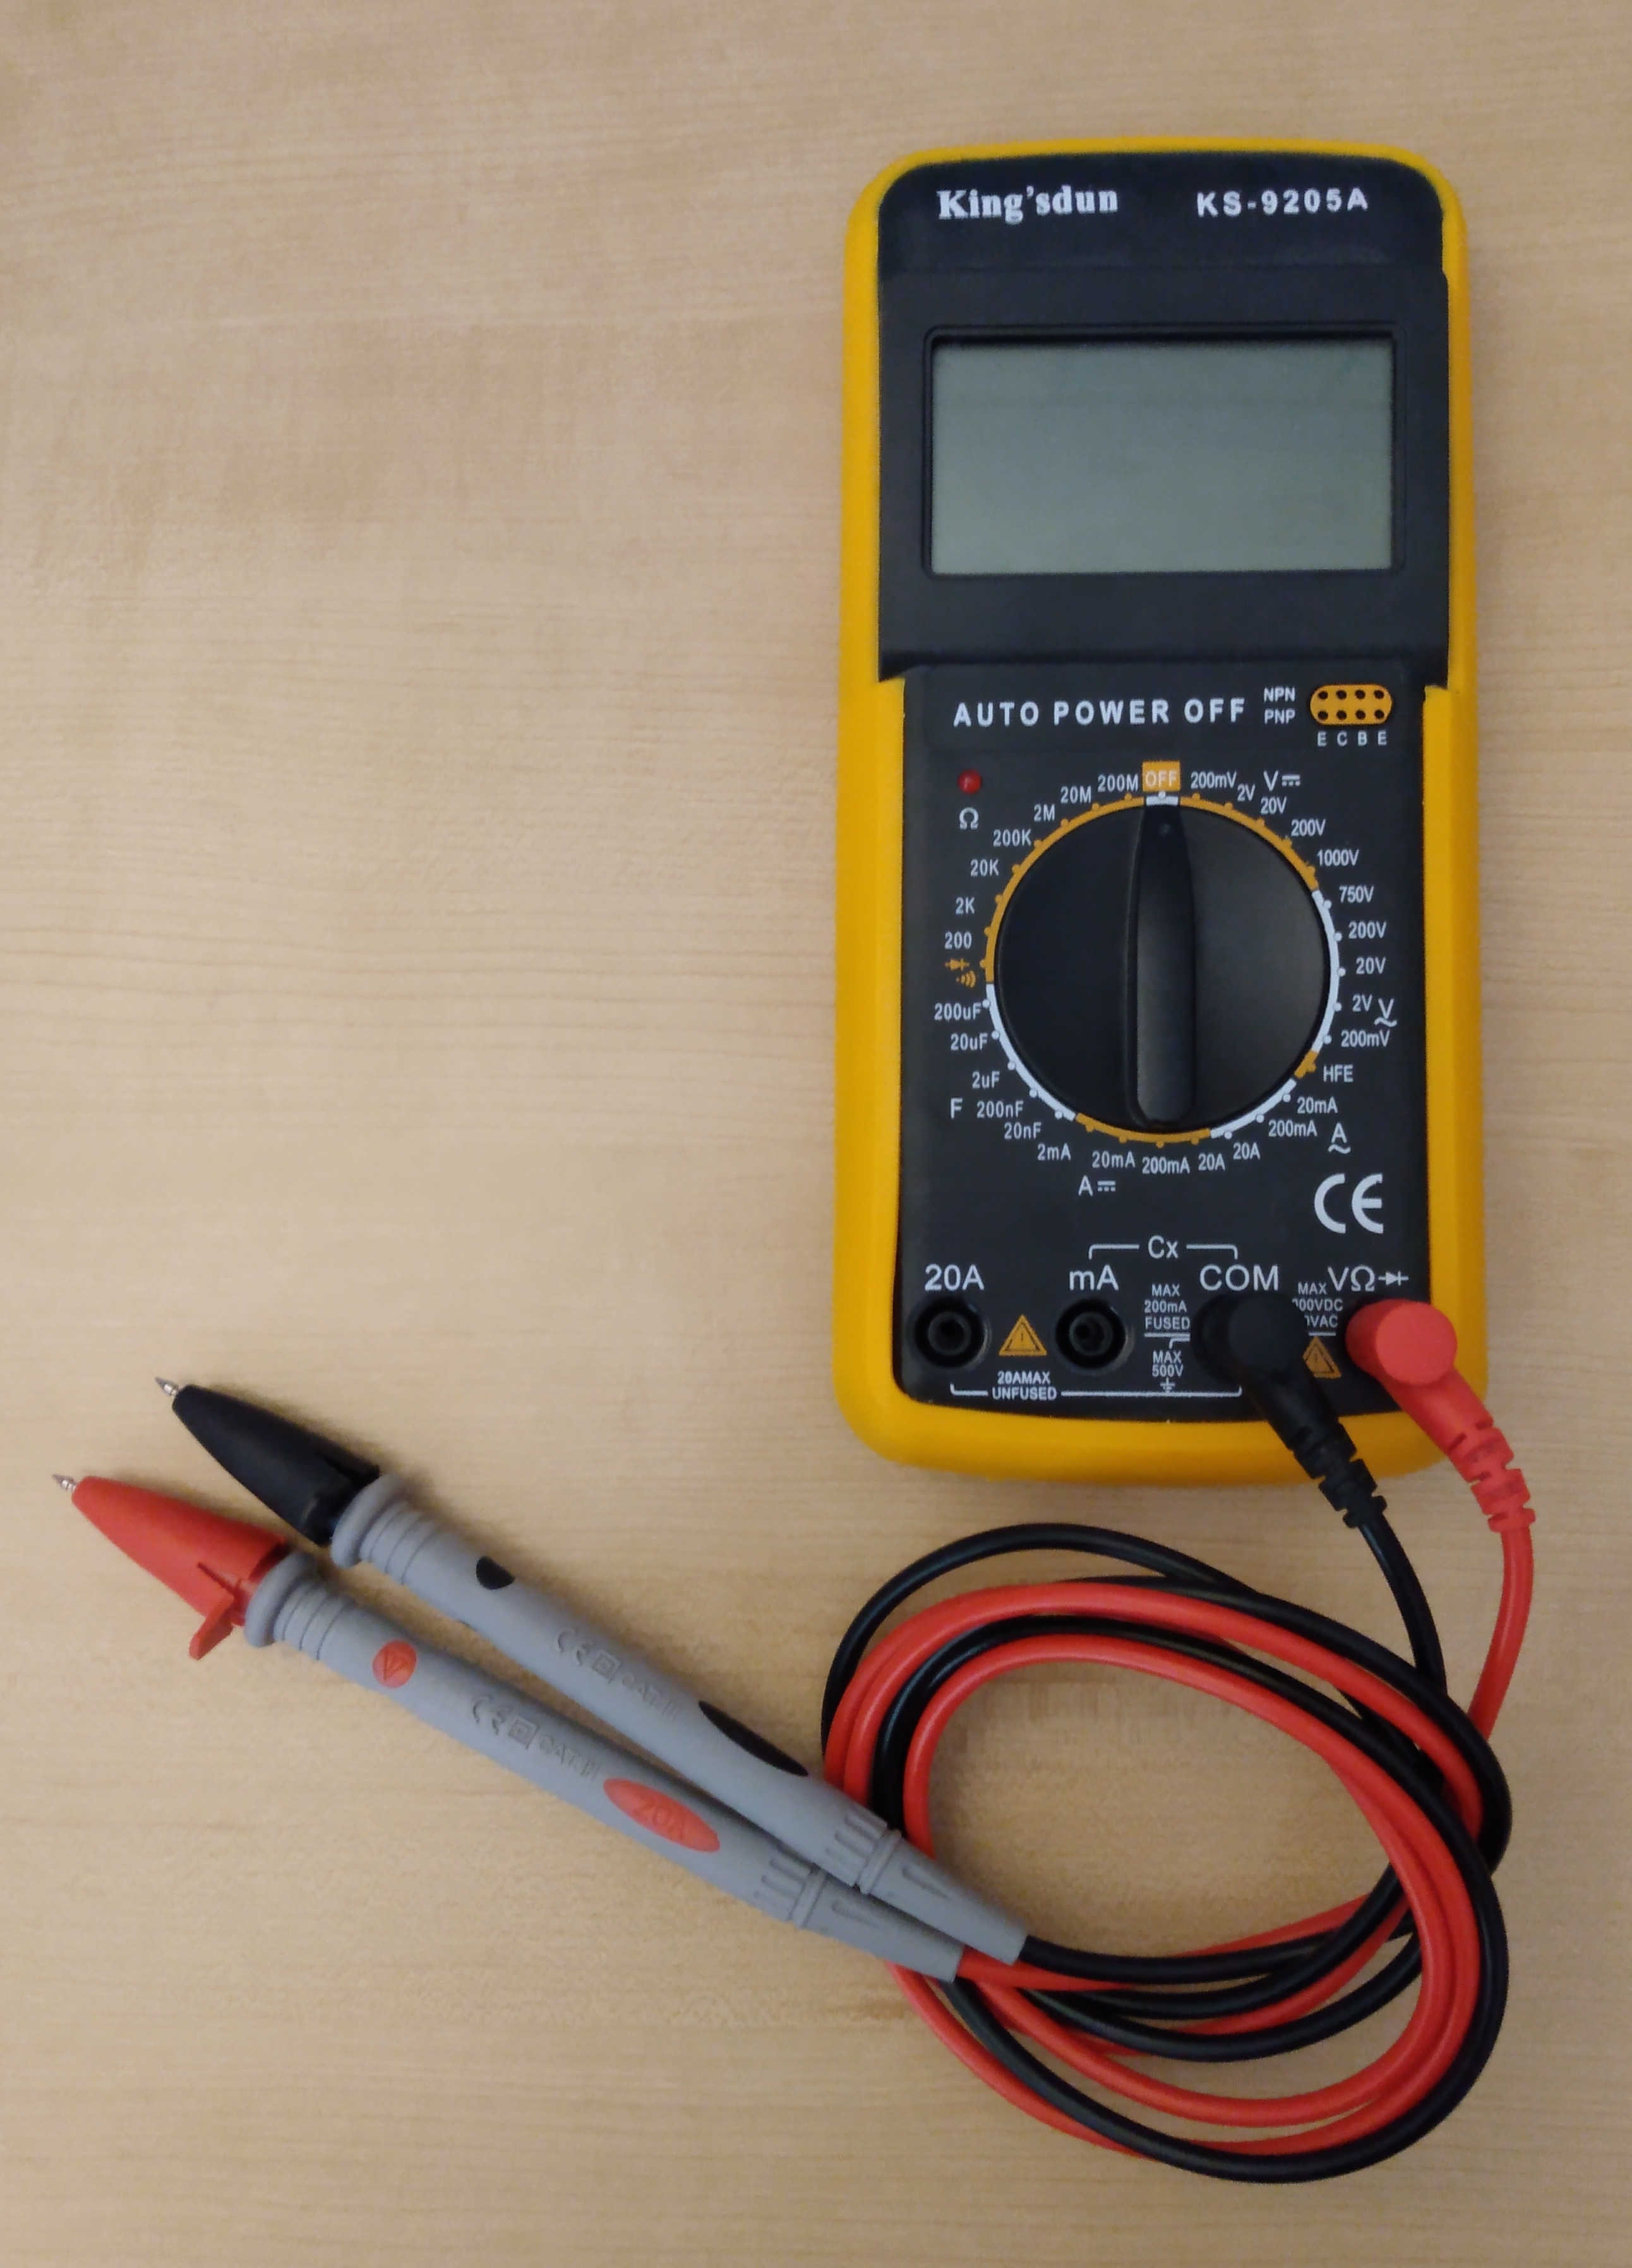
This is my multimeter. Don’t let the yellow livery fool you: it’s nothing fancy. This model is listed at just under CA$11 from a local computer supply shop. For what I do, though, it works well enough. Or it used to. But I’m getting ahead of myself.
This meter has two lead sockets for measuring current. The leftmost socket is for 0-20A, and is unprotected, while the socket just left of the common connection is for the 0-200mA range, and is protected by a 200mA fuse.
The other day I blew that fuse. I was measuring current in the 200mA range, and wanted to measure a power rail’s voltage, so I powered off my circuit, moved the probes to the new spot, and powered the circuit back up… without changing the leads or range on the meter. So, with my power rail shorted through it, that trusty 200mA fuse did exactly what it was supposed to do, and popped, saving both the meter and my circuit from certain destruction.
This in itself is not a huge deal. The meter still works for measuring voltage, resistance, continuity, current in the 20A range, and hFE (I guess). But the capacitance measurement uses the same socket (and fuse) as the 200mA range, which means that with one careless mistake, I managed to render 10 of my meter’s 31 (!) switch positions useless. This simply won’t do. I gotta change that fuse.
Finding the Fuse
Simple laziness dictates we try the easiest thing first. In this case, that’s checking the battery compartment to see if the designers of this product were kind, forward-thinking folks who put the fuse in a serviceable location.

No such luck: no fuse in there. Maybe we’re expecting too much from $10 hardware. Next easiest thing: just take the whole back cover off.
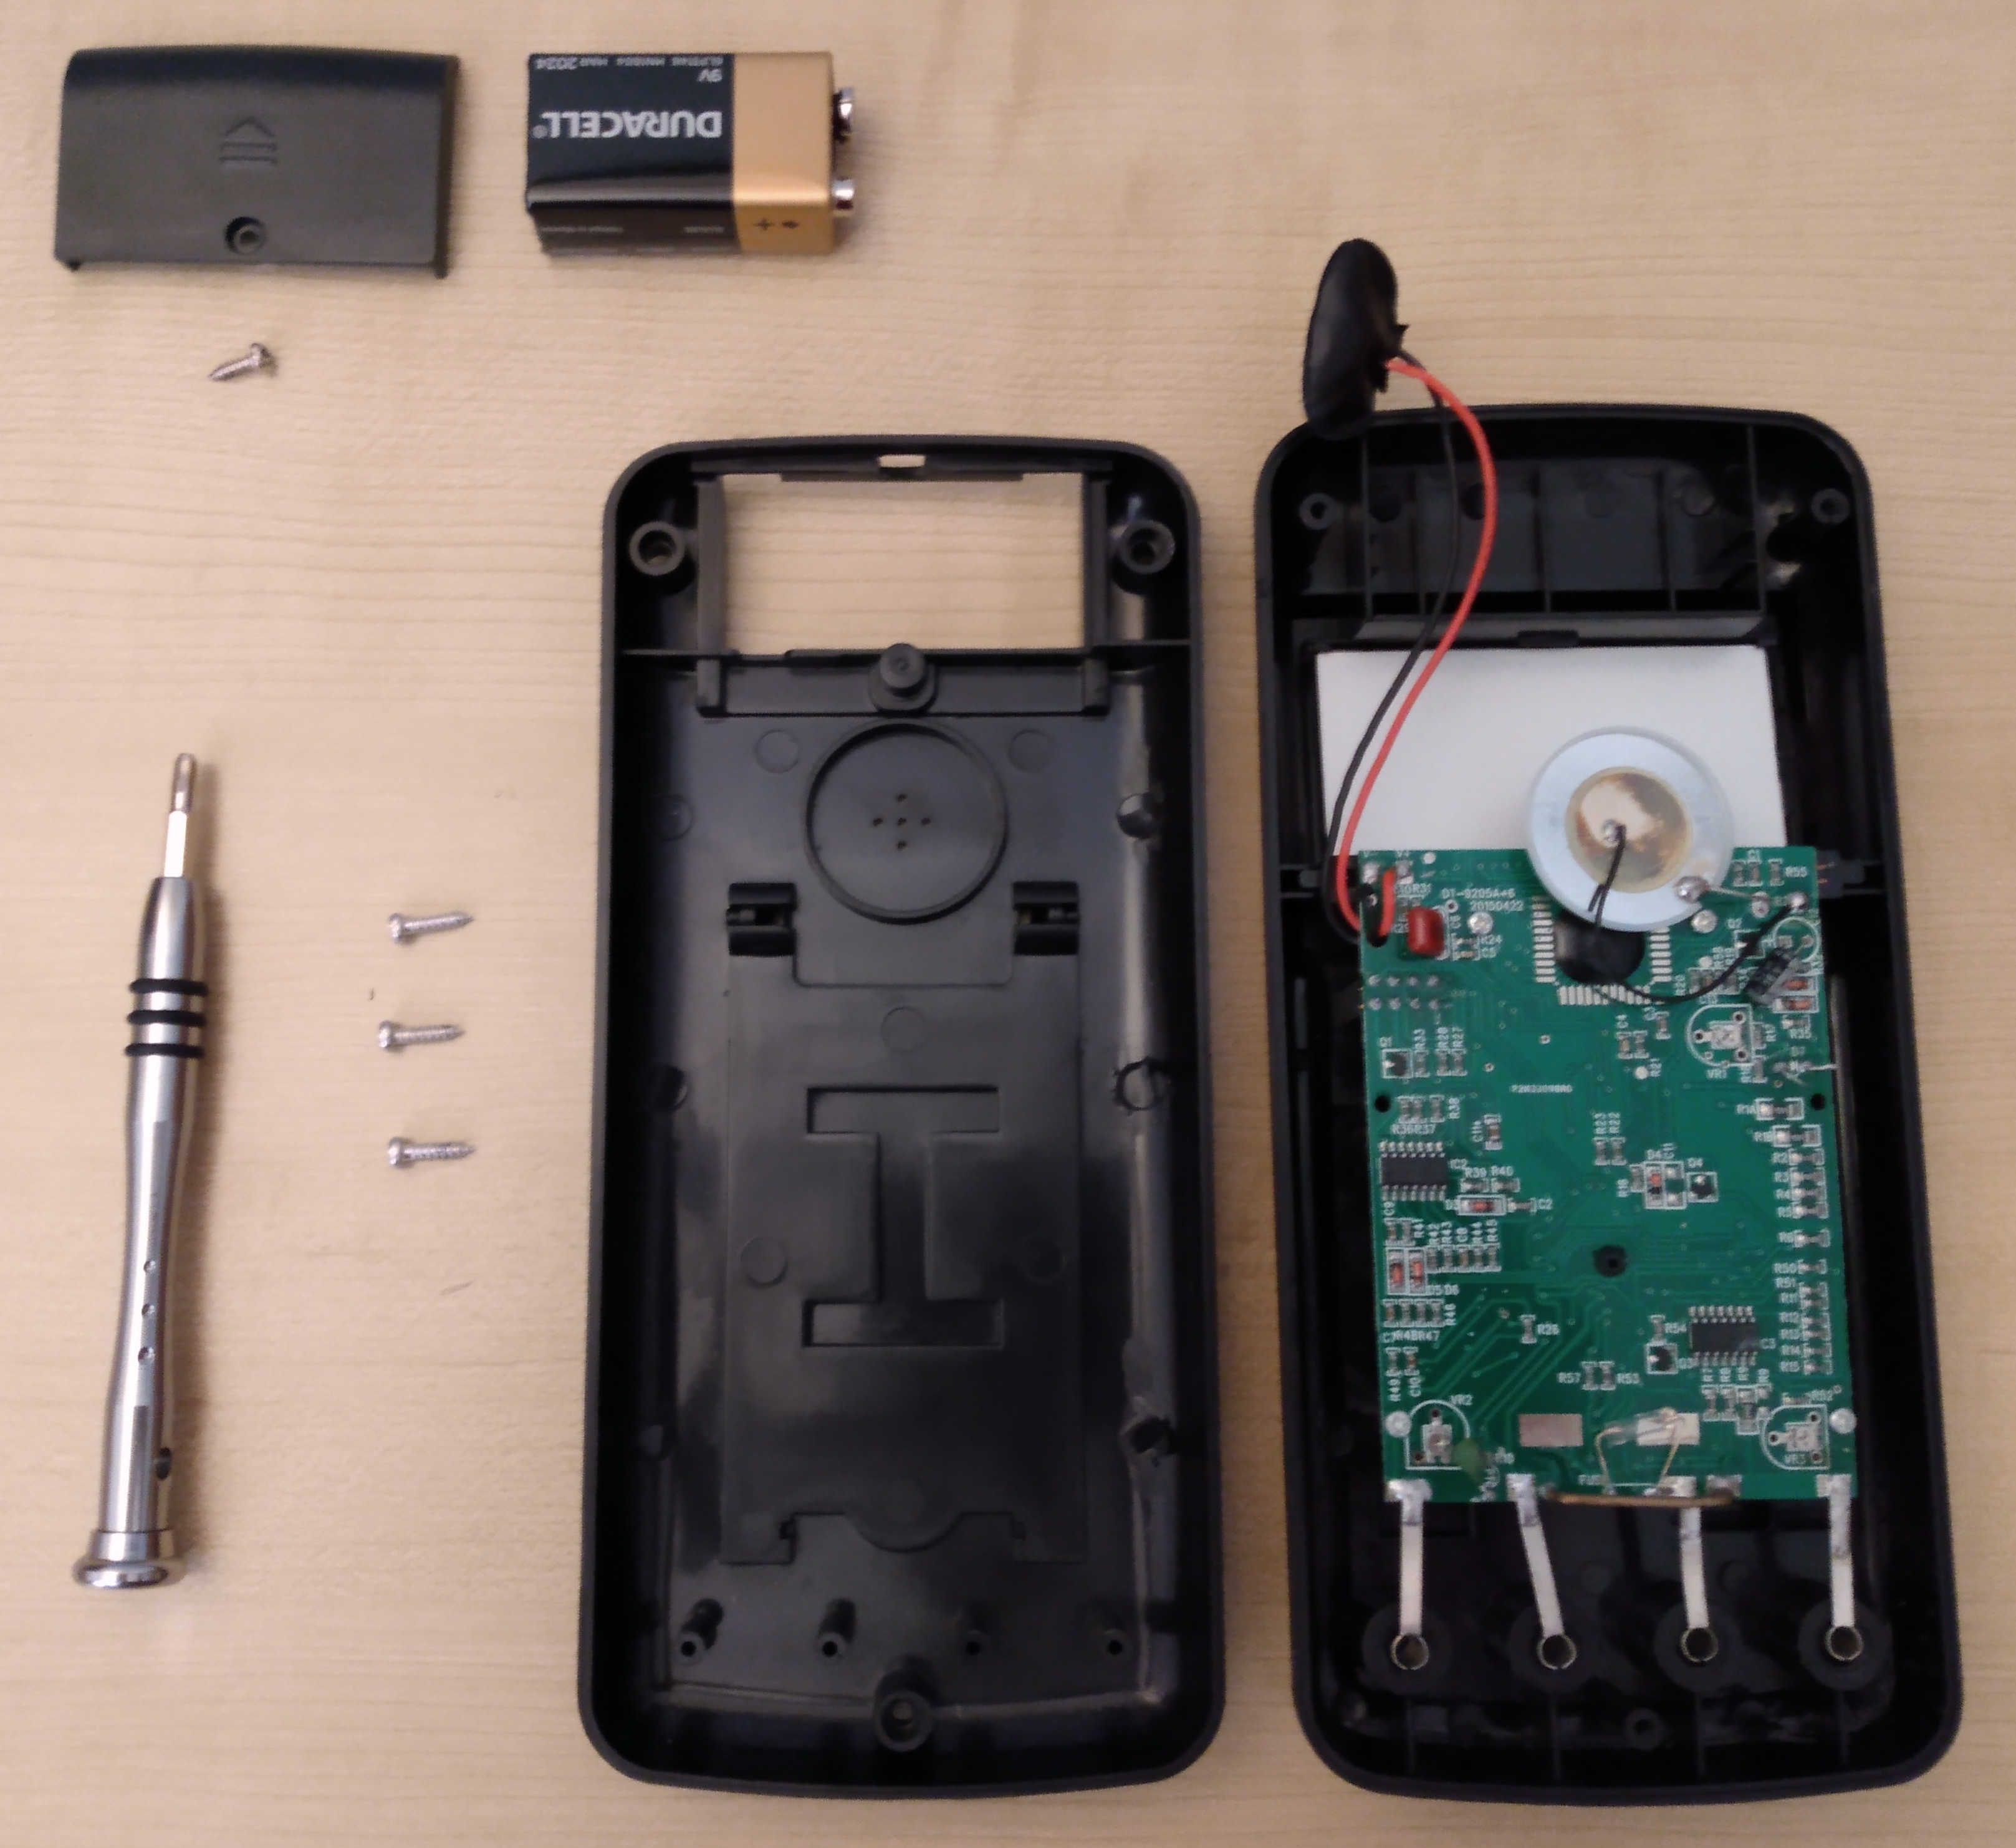
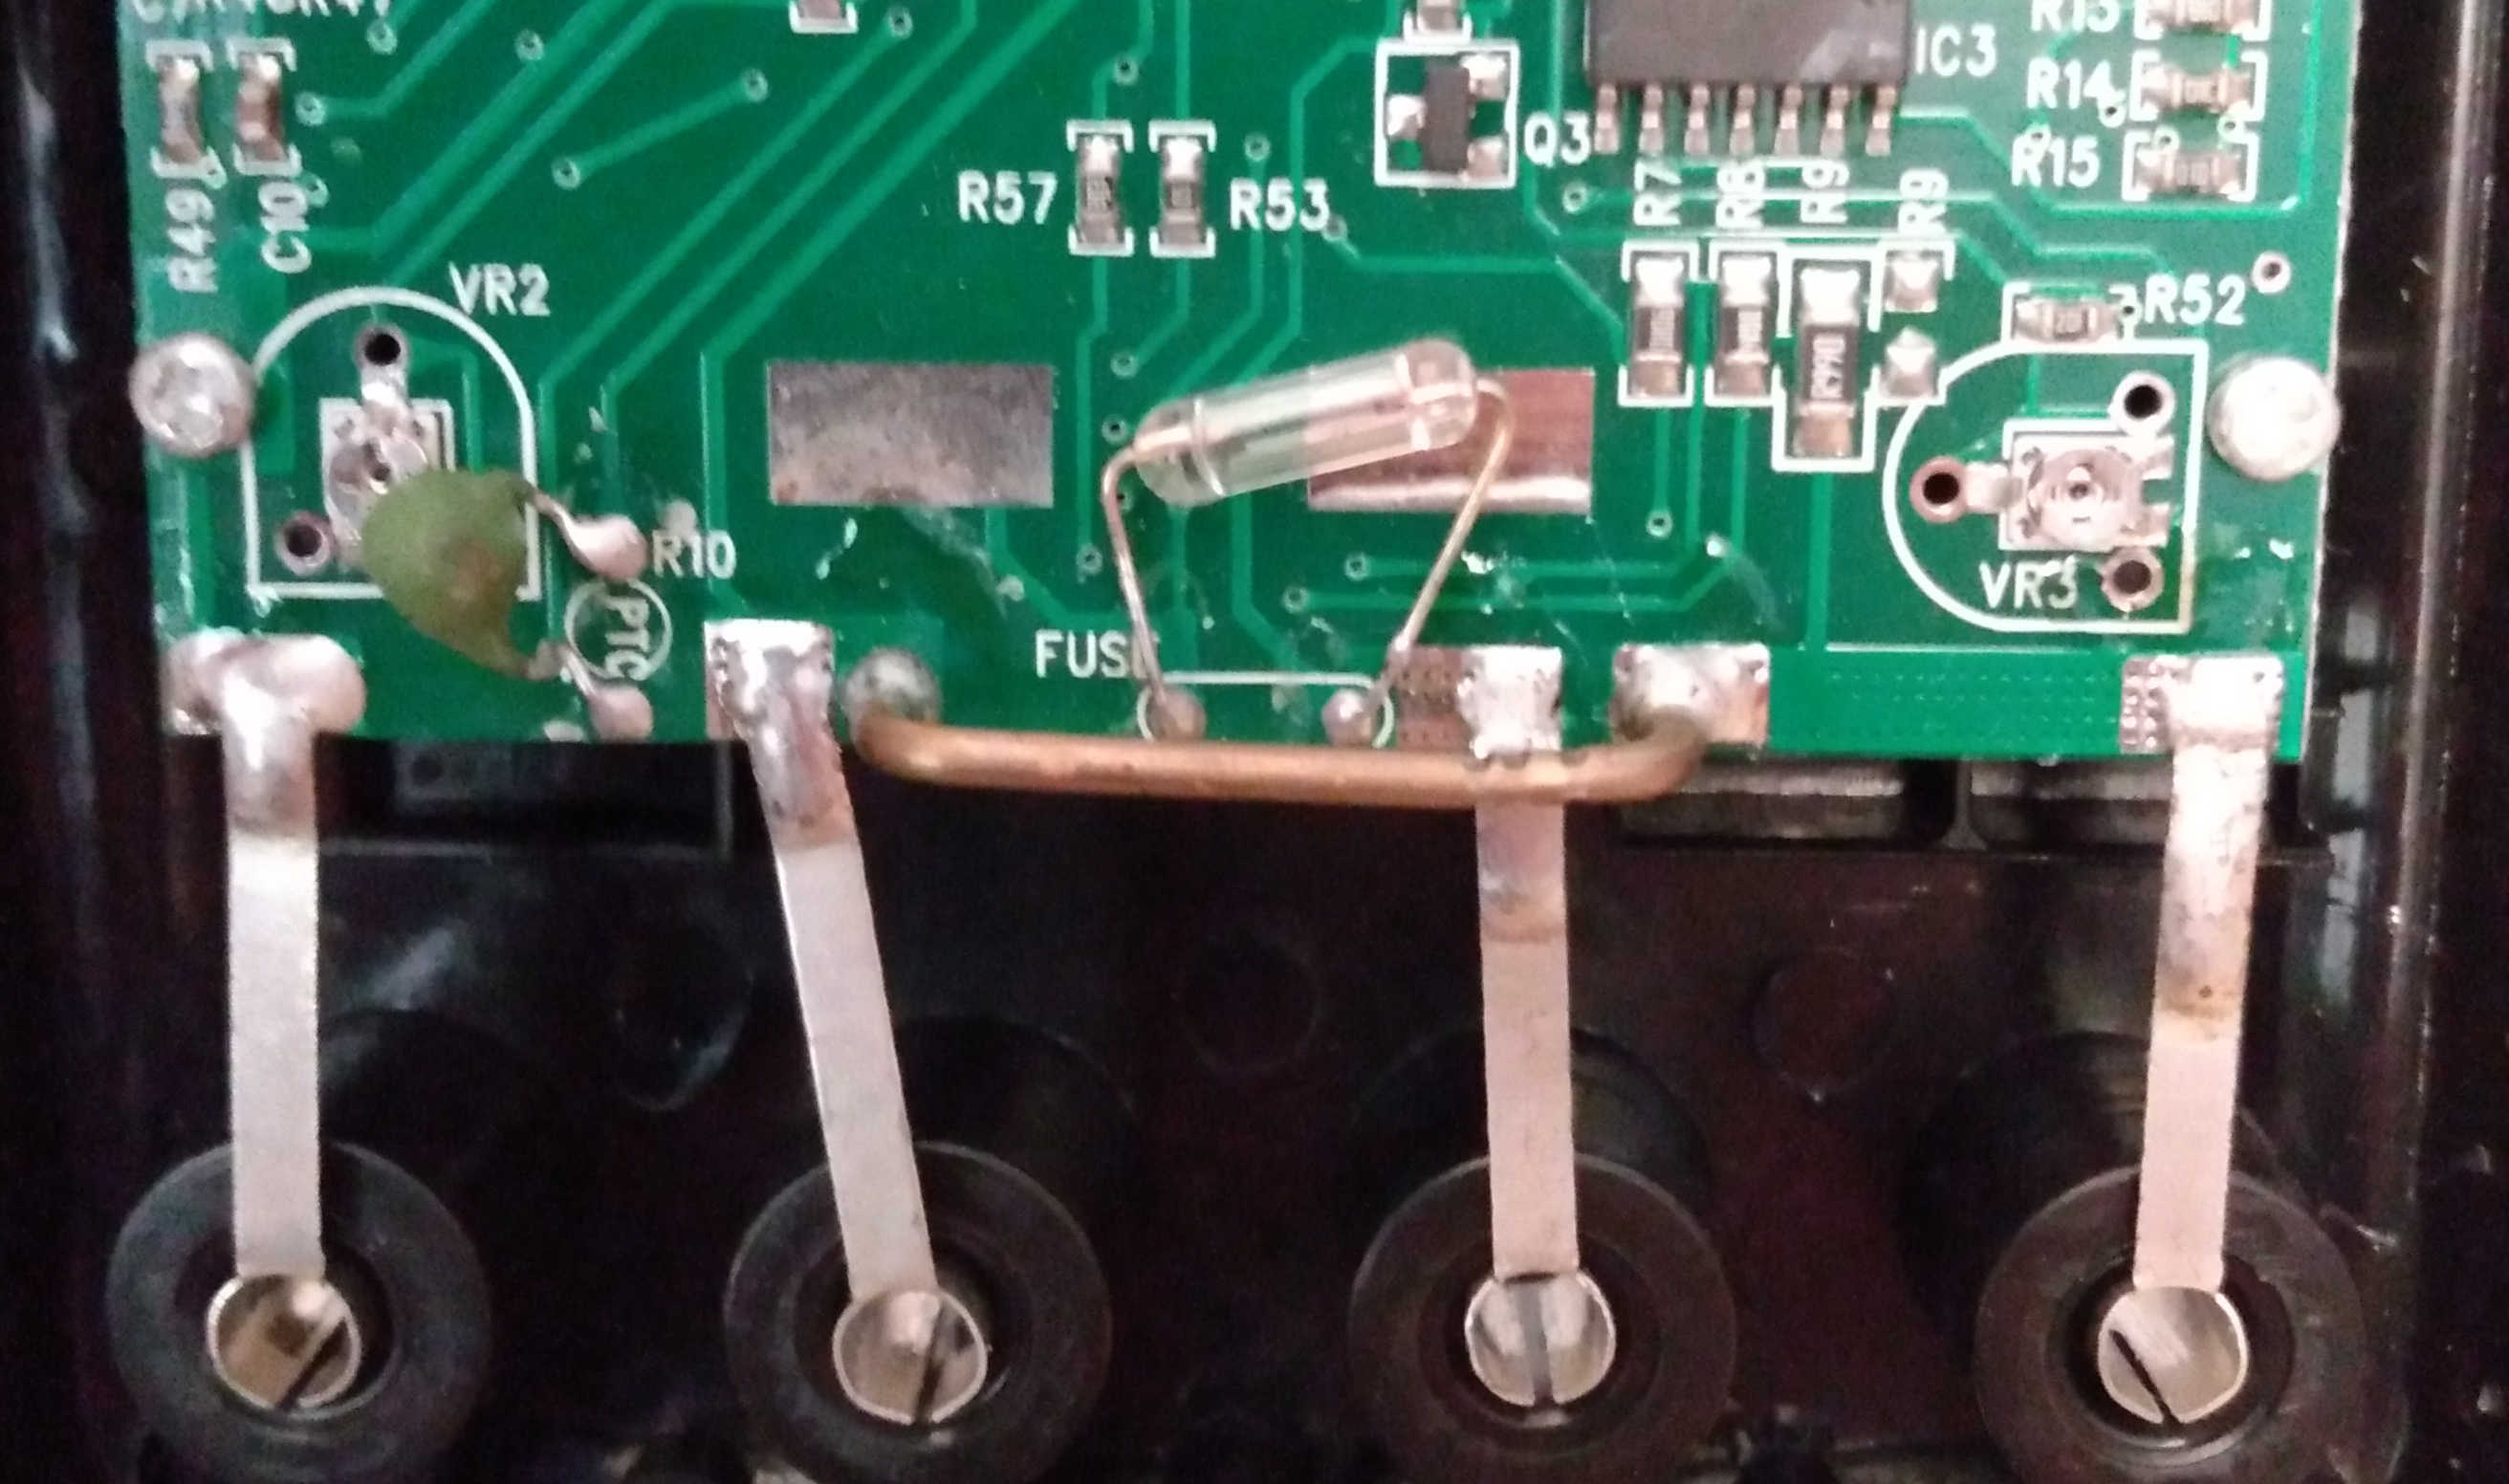
That’s more like it. At the very bottom centre of the PCB, we can see both the 20A shunt resistor (the solid copper wire) and the 200mA fuse (the little glass envelope).
Replacing the Fuse
I couldn’t get a close-up-enough photo to show the tiny wire inside of the fuse, but it’s blown. It’s also not what I was expecting. I’d hoped it would be a nice socketed fuse in a standard size and rating, and I could just pop down to the hardware store and buy a new one, and maybe some spares for next time I make a silly mistake. Once again, no such luck. This is a funky axial-lead fuse, and it’s soldered in. Finding a direct replacement is gonna be a pain.
However, there are two large rectangular solder pads right under the fuse body, which (I checked) are connected to the same traces as the fuse leads. They look about the right size to accept a 5x20mm fuse holder, or (because I can’t find 5x20mm fuse holders online right now) just a 5x20mm fuse soldered right onto the board.
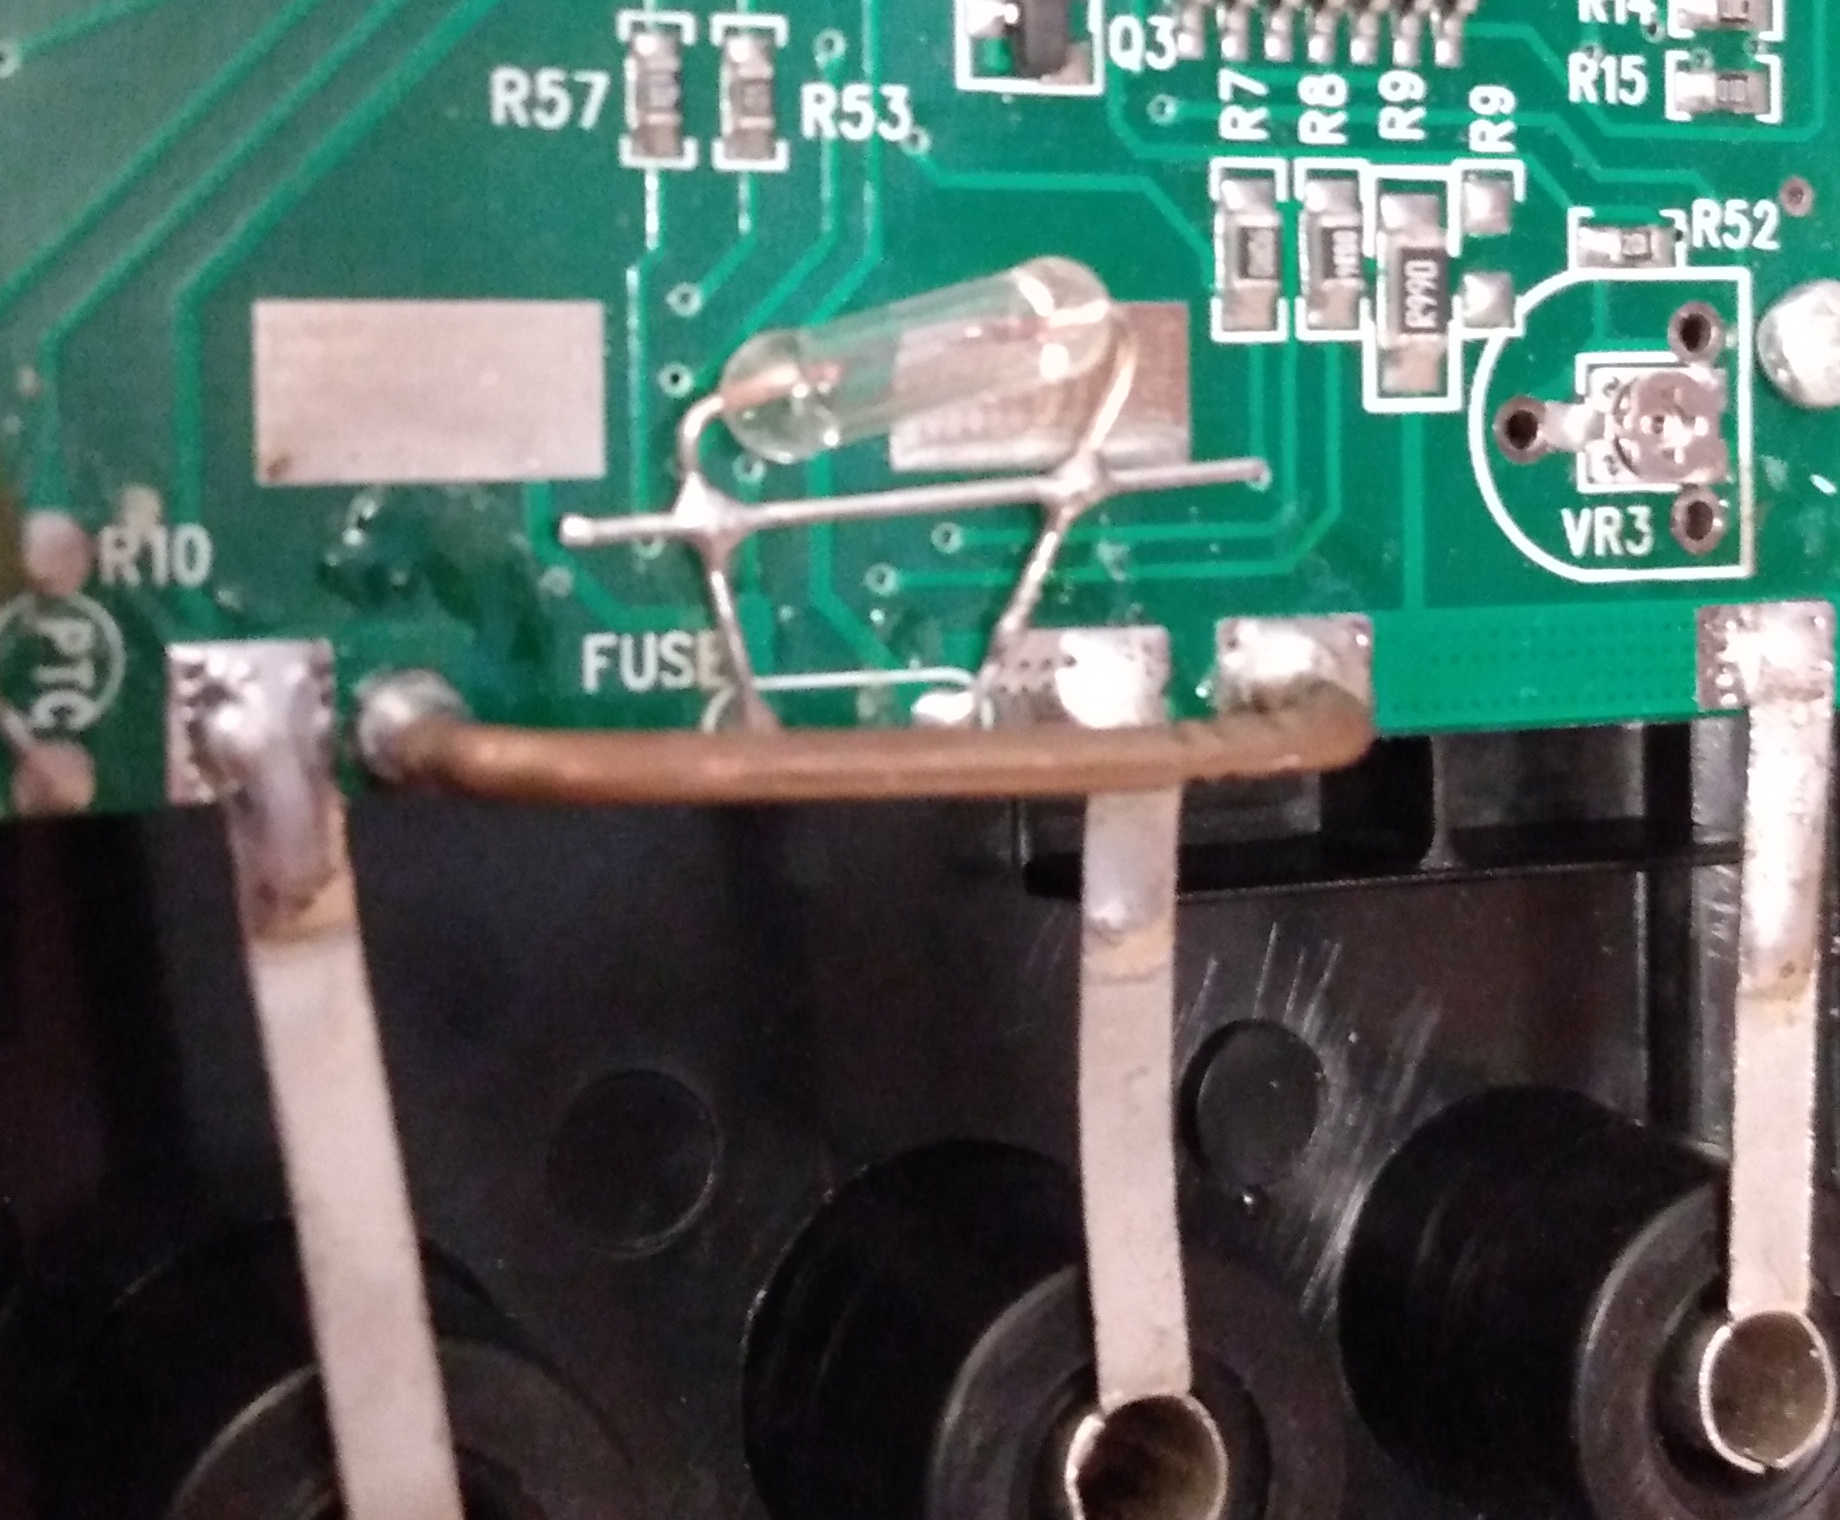
So anyway, I’ve ordered some fuses. While I wait for them to arrive, I’d like to get my meter back to usable condition. With the help of a soldering iron and a bit of cutoff resistor lead I found on the floor, I bodged a little shunt across the fuse.
But Does It Work?
Just for fun, let’s test it. Here I’m measuring a current in the 200mA range:
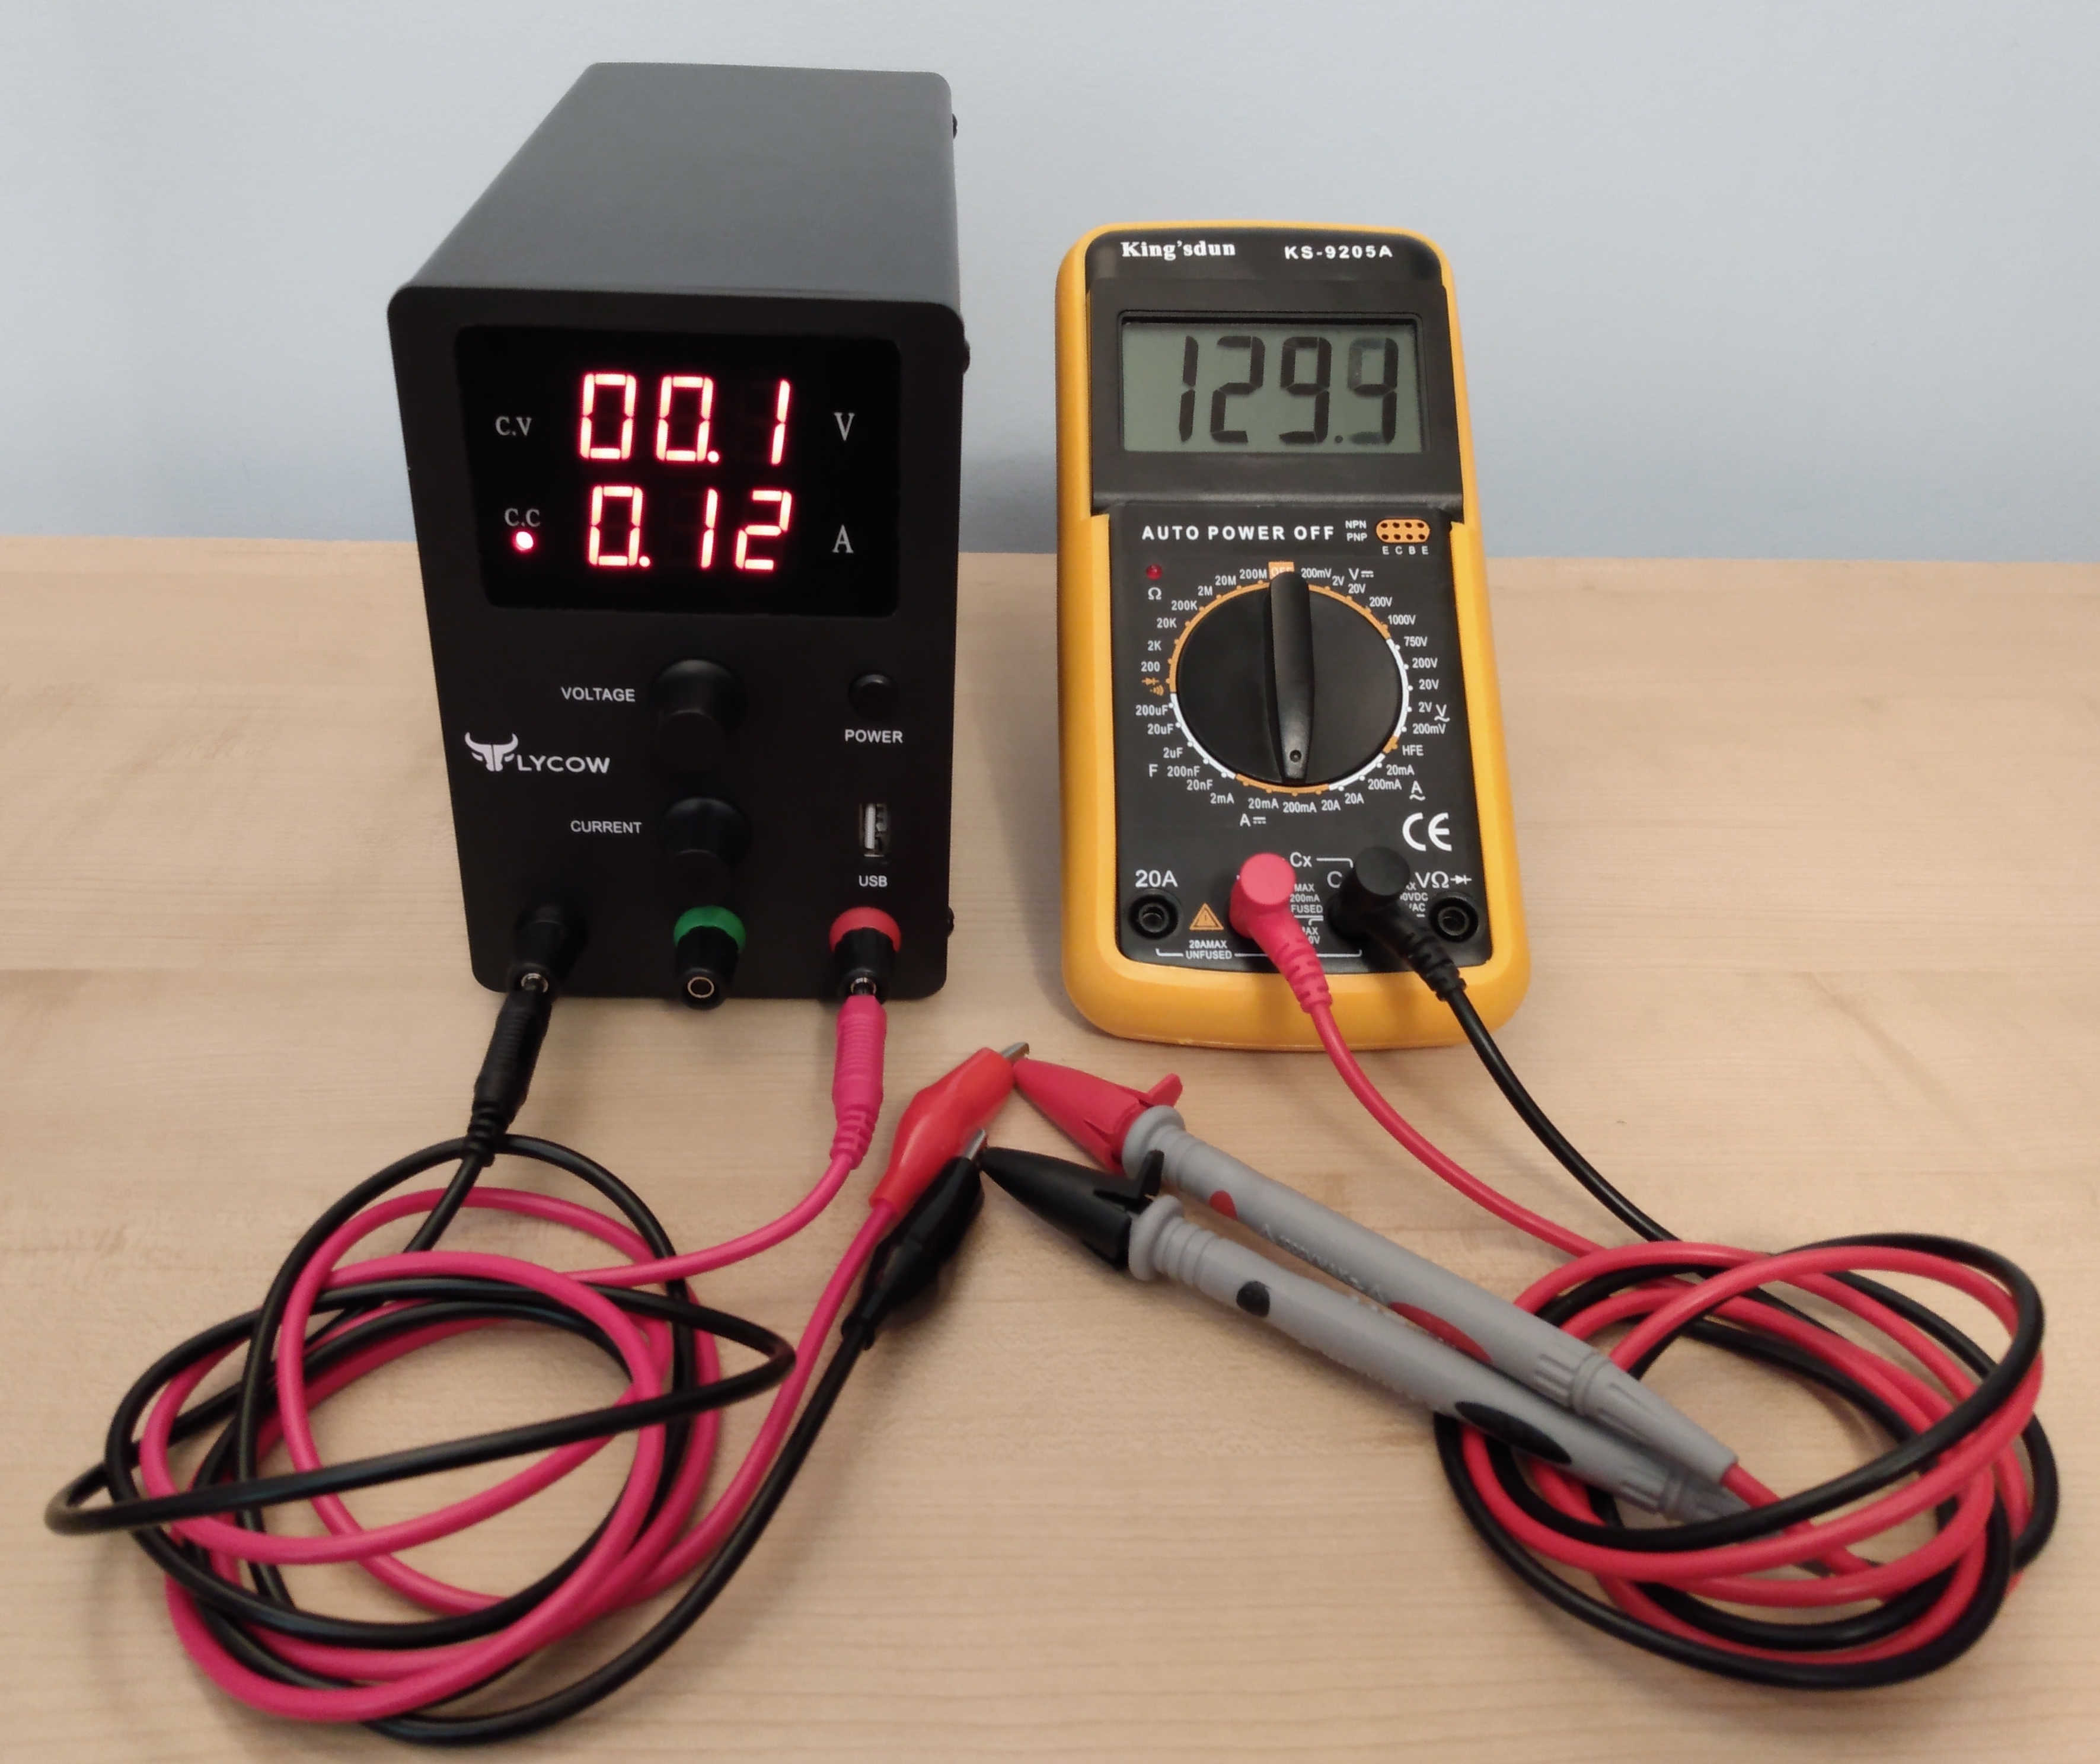
Close enough, considering how inexpensive both the meter and the bench supply were. I also seem to have captured the meter’s reading between screen updates. Lucky.
Here is the measurement of a 2.2nF capacitor:
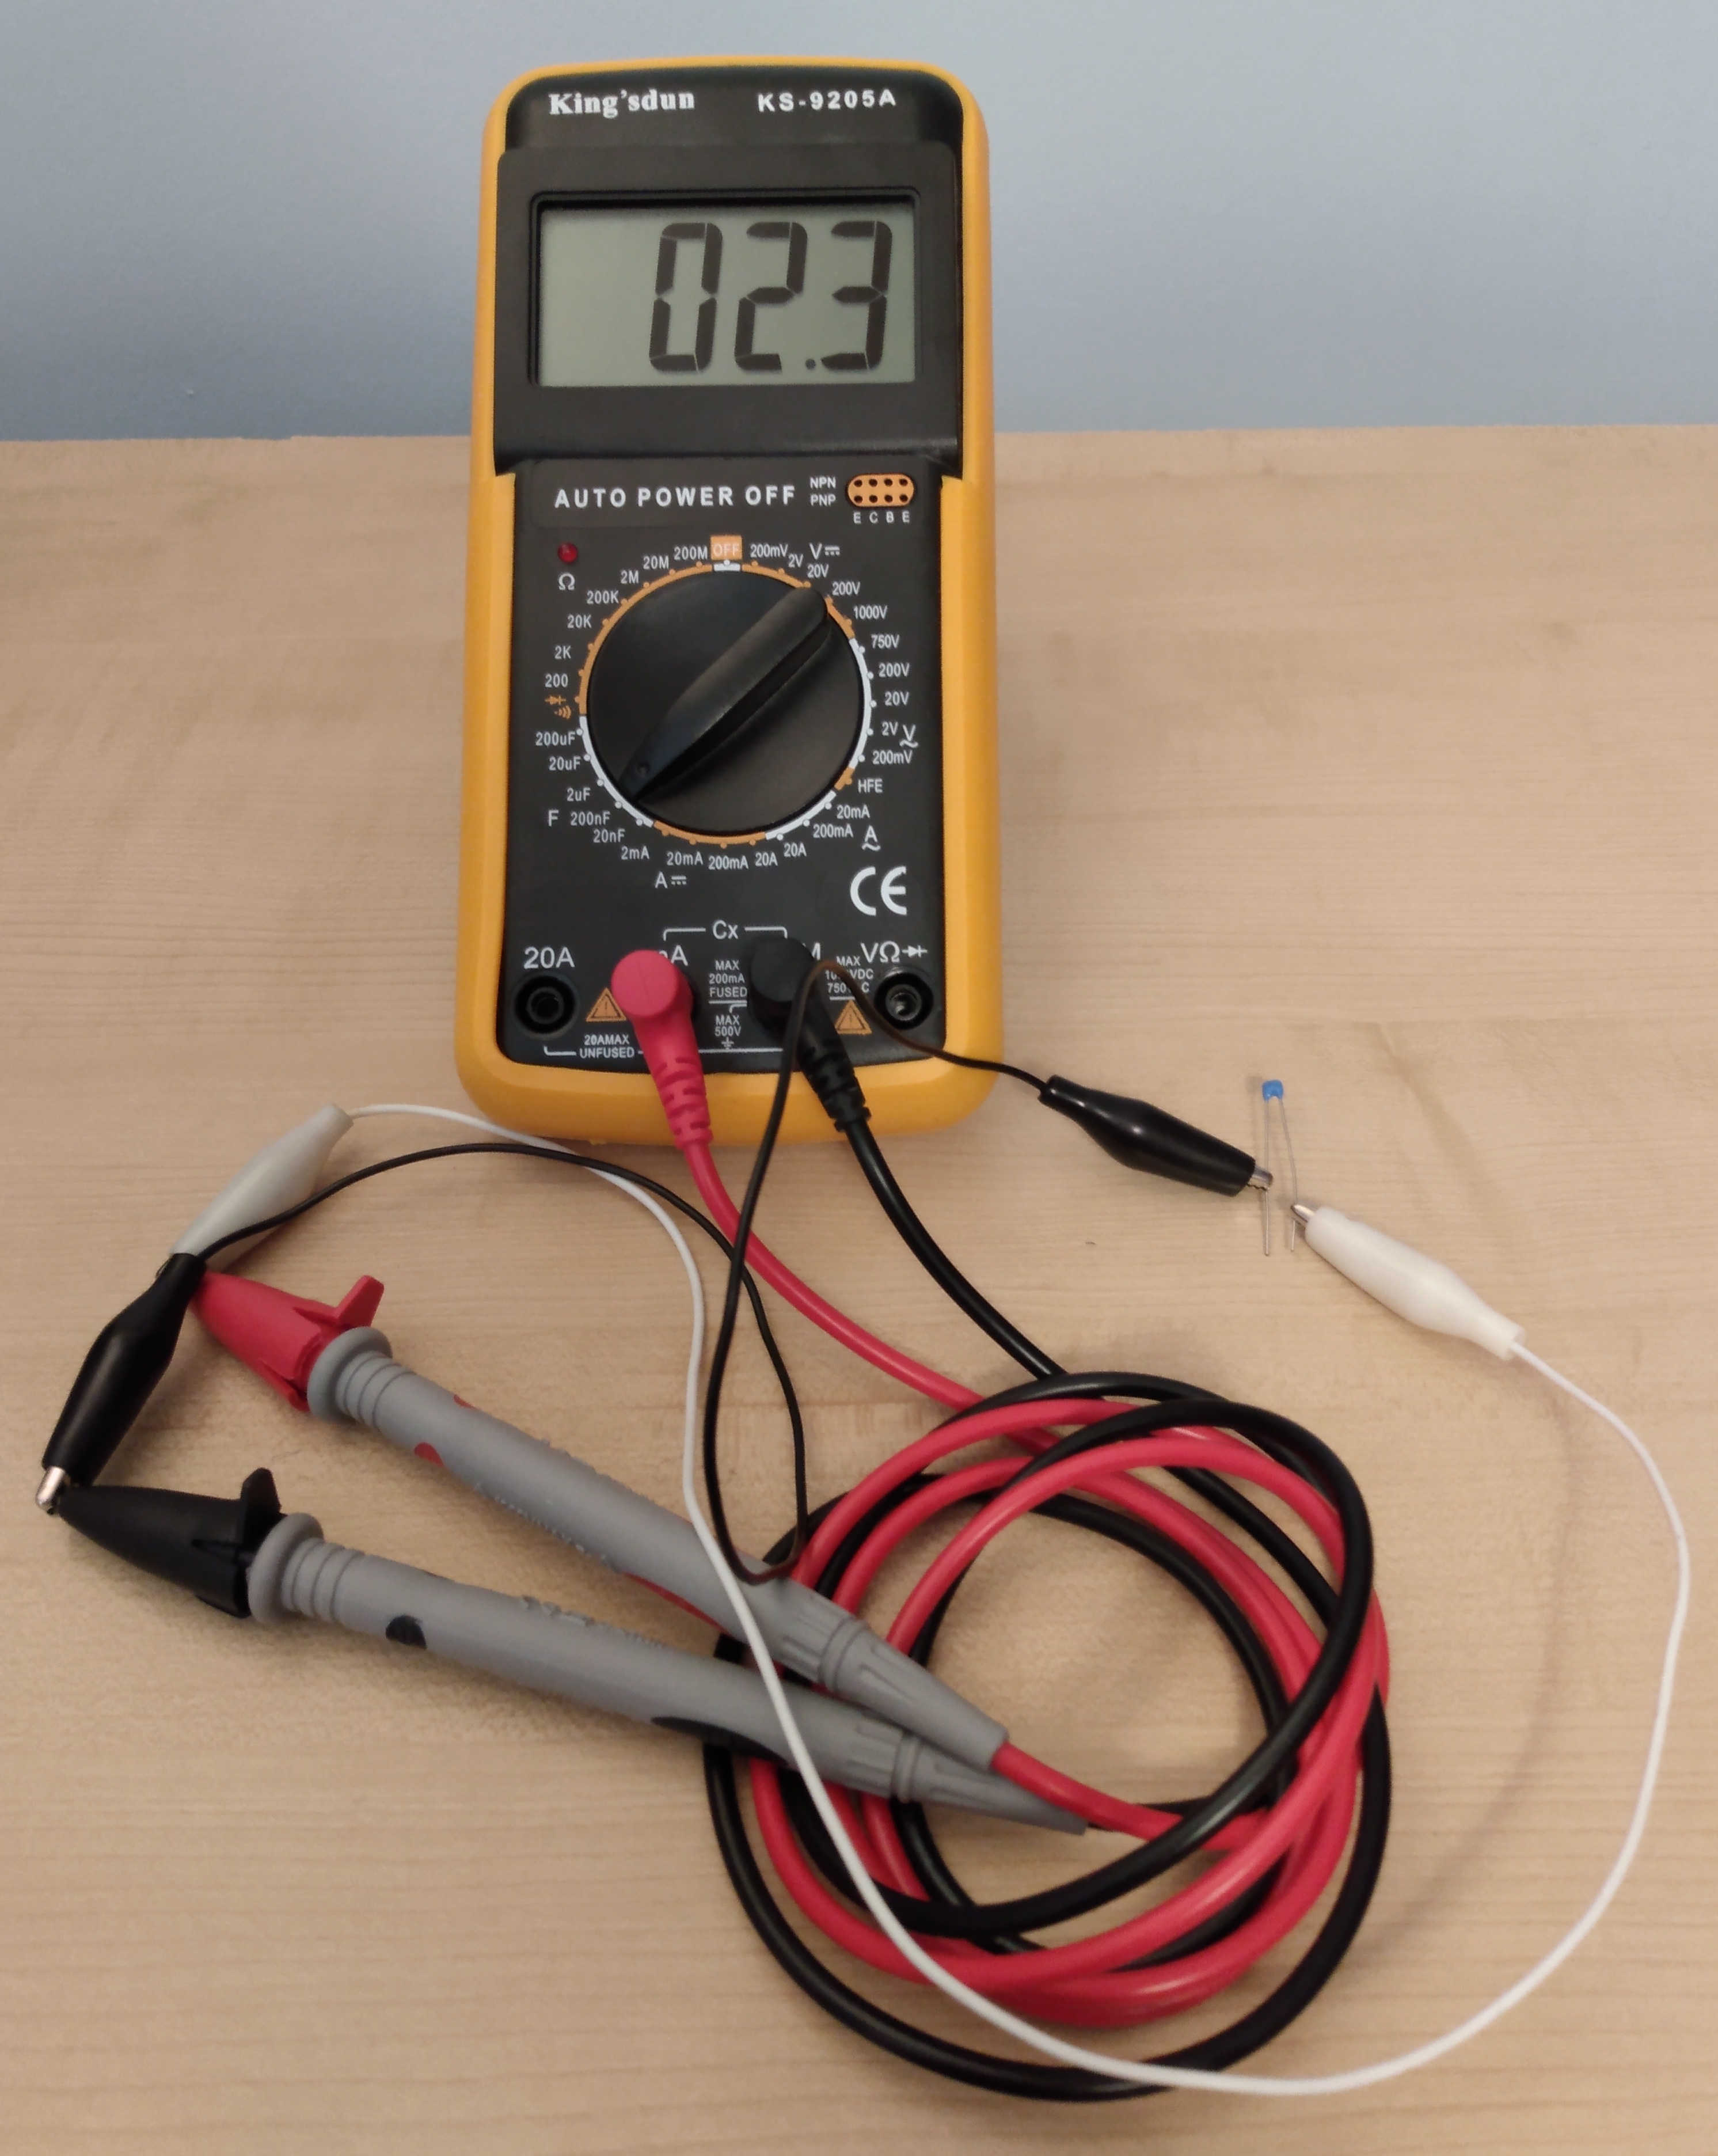
So it works. Now I just have to be extra careful for a while. There’s no fuse in there to save me from myself.
Cheers.